Controller Deadzone: What It Is, How It Works,
By Airam Chandler
Last updated: August 22, 2026
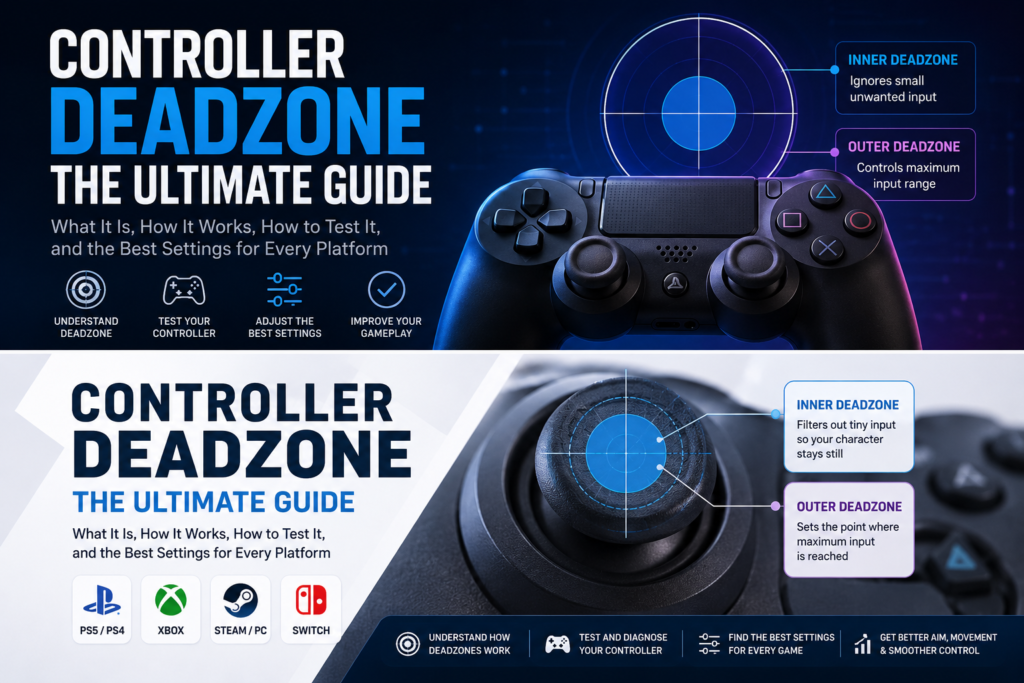
A Controller Deadzone is a small area around the center of an analog stick where movement is intentionally ignored. It prevents tiny, unintentional stick movements from affecting your game. A properly adjusted deadzone improves control, reduces unwanted movement caused by stick drift, and makes aiming or steering feel more consistent. The ideal setting depends on your controller, the game you’re playing, and whether you’re prioritizing precision or stability.
Whether you’re lining up a shot in a fast-paced shooter, making steering corrections in a racing game, or trying to stop your character from walking on its own, the deadzone setting has a direct impact on how your controller feels.
Why Does Every Controller Have a Deadzone?
No analog stick is perfectly precise. Every controller uses sensors to measure stick position, and even brand-new controllers exhibit tiny variations in their readings due to manufacturing tolerances and normal electronic signal noise. As a controller ages, those variations often become more noticeable.
A deadzone acts like a filter: instead of responding to every microscopic change, the controller or game waits until movement is large enough to be intentional. Think of it like a microphone’s noise filter; it removes background hiss so only your voice comes through. A deadzone does the same for stick input.
Many games also apply their own input processing after receiving data from the controller, which is why the same hardware can feel completely different from one title to the next.
How Does a Controller Deadzone Work?
Picture the center of the analog stick as a small circle. Inside the circle, movement is ignored. Outside it, movement begins to register.
- A small deadzone means movement starts almost immediately.
- A larger dead zone requires more physical movement before the game reacts.
This is why changing the deadzone directly affects how responsive a controller feels, and why there’s no single “correct” number, only a best fit for your controller and game.
Radial vs. Axial (Per-Axis) Deadzone
Radial Deadzone
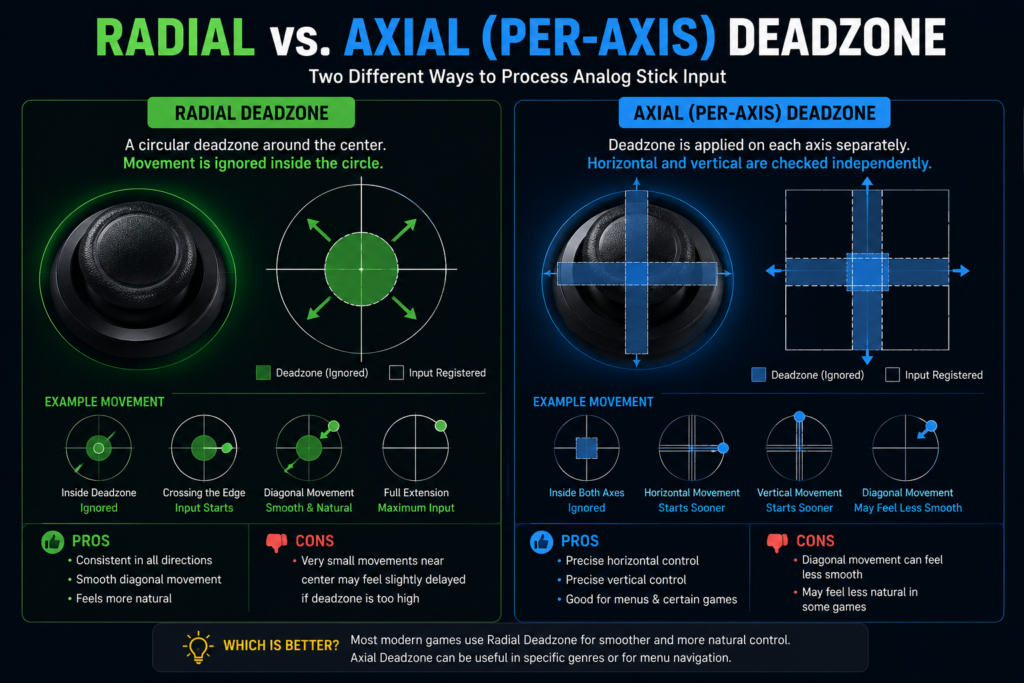
A radial deadzone creates a circular area around the stick’s center. No matter which direction you push, the stick must leave that circle before input registers. Because every direction uses the same distance from the center, radial dead zones tend to produce smoother, more natural movement, common in third-person games, racing games, and most modern console titles.
Advantages: consistent movement in every direction, smooth diagonal input. Drawback: very small movements near the center can feel slightly delayed if the deadzone is set too high.
Axial (Per-Axis) Deadzone
An axial deadzone treats horizontal and vertical movement separately, measuring each axis independently rather than distance from the center. This can make straight horizontal or vertical movement easier, but diagonal movement may feel less smooth if the deadzone is aggressive.
Advantages: precise horizontal/vertical control, useful for menus and certain genres. Drawback: diagonal movement can feel less fluid.
Inner Deadzone vs. Outer Deadzone
Inner Deadzone
Controls how much movement is ignored around the stick’s center.
- A larger inner dead zone reduces unwanted movement and can hide minor drift, but requires more travel before the game responds.
- Smaller inner dead zone: registers movement sooner and feels more responsive, but may expose drift on worn controllers.
Outer Deadzone
Affects the edge of the stick’s range rather than the start of movement. If the outer dead zone is too large, the game registers full input before you’ve physically pushed the stick to its edge. Some players tighten this to make quick turns feel faster; others prefer full physical travel for finer control.
Bottom line: most players are best served by a small, stable inner deadzone, a properly calibrated outer deadzone, and radial processing for smoother all-direction movement. Competitive players tend to run the lowest stable inner deadzone their controller allows; casual players often prefer a bit more cushion.
Controller Deadzone vs. Stick Drift
These terms get used interchangeably, but they describe two different things. A deadzone is a setting that controls when the stick starts responding. Stick drift is a hardware or signal problem that causes movement even when the stick is untouched.
| Feature | Controller Deadzone | Stick Drift |
|---|---|---|
| What is it? | An input threshold that ignores tiny stick movements | Unwanted movement caused by inaccurate stick readings |
| Purpose | Improve control, filter minor input | Not intentional, it’s a controller issue |
| Controlled by | Game settings, controller software, or firmware | Controller hardware, sensors, wear, or contamination |
| Can you adjust it? | Yes | No, a larger deadzone may hide mild symptoms |
| Permanent fix | Adjust settings | Clean, recalibrate, repair, or replace the controller |
Can Adjusting the Deadzone Fix Stick Drift?
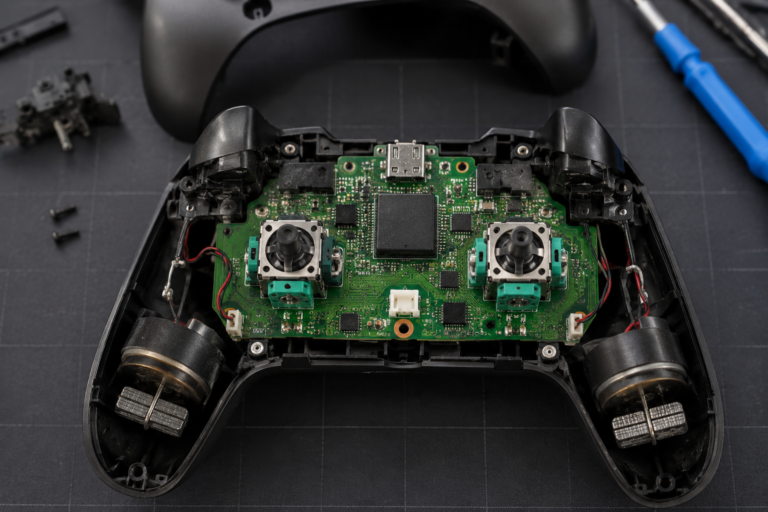
Sometimes, but only temporarily. If drift is very small, a slightly larger deadzone can filter it out. But this doesn’t repair the hardware, as wear continues, unwanted movement typically gets stronger until even a large deadzone can’t mask it. If you find yourself raising the deadzone every few weeks just to keep a controller usable, that’s a sign the hardware needs attention, not another settings tweak.
For diagnosis and repair steps, see our diagnose DualSense stick drift.
Deadzone Symptoms vs. Drift Symptoms
| Likely a Deadzone Setting Issue | Likely Stick Drift (Hardware) |
|---|---|
| Aim feels slow to start | The camera moves by itself |
| Fine movements feel unresponsive | Character walks without touching the stick |
| Steering feels delayed | Crosshair slowly drifts |
| Controller feels different between games | Cursor moves while controller is idle |
| , | The problem appears across multiple games |
How to Test Your Controller Deadzone Online
Guessing rarely leads to the right answer. The most reliable approach is a live, browser-based test.
- Step 1: Connect your controller. USB or Bluetooth; most modern browsers auto-detect supported controllers.
- Step 2: Open the controller tester. Press a button or move a stick if detection doesn’t trigger automatically.
- Step 3: Leave both sticks untouched for several seconds. A healthy controller stays close to the center with no noticeable movement.
- Step 4: Slowly move each stick in every direction (left, right, up, down, diagonals) and watch for a smooth, consistent response.
- Step 5: Release the stick and watch it return to center. Repeated bouncing or settling away from center can indicate wear.
Reading Your Results
- Healthy: stable center, smooth movement in every direction, accurate return to center.
- Minor idle noise: small fluctuations near the center are normal; this is exactly why dead zones exist.
- Possible drift: the indicator keeps moving while untouched, or repeatedly settles off-center.
- Uneven movement: smooth in one direction but inconsistent in another; may need recalibration or inspection.
Test your controller whenever you notice unexpected movement, aim feels inconsistent, you’re buying a used controller, you’ve replaced analog sticks, updated firmware, changed deadzone settings, or you’re prepping for competitive play.
How to Adjust Deadzone by Platform
Rule of thumb before changing anything: test the controller first. If it’s healthy, fine-tune for comfort and precision. If it shows hardware drift, adjusting the deadzone will only mask symptoms temporarily.
PS5 (DualSense)
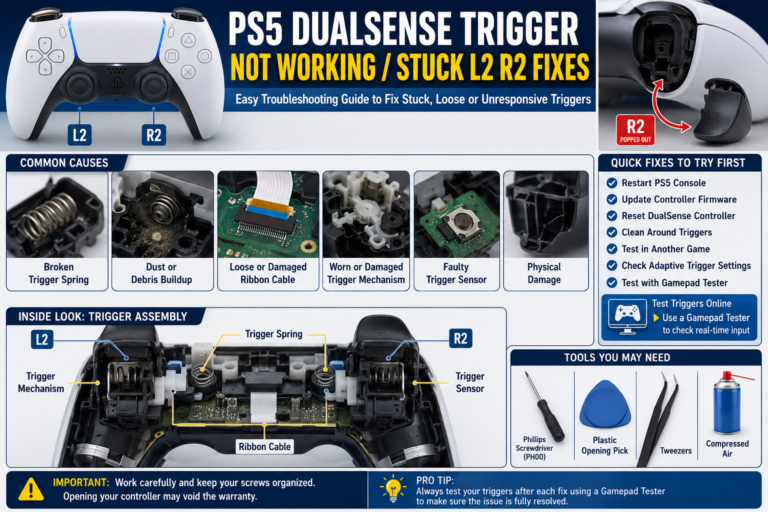
The PS5 doesn’t offer a system-wide deadzone setting, so you must adjust it separately within each supported game. However, if the console is producing excessive heat, loud fan noise, performance drops, or unexpected shutdowns, this is not a controller deadzone issue. Follow our PS5 Keep Overheating guide to diagnose the console before changing your controller settings.. Adjust it per game:
- Open the game’s Settings menu.
- Go to Controller or Controls.
- Find Deadzone / Stick Deadzone / Advanced Controller Settings.
- Reduce the value gradually, testing after each change.
PS4 (DualShock 4)
PS4 (DualShock 4) works the same way as PS5; there is no console-wide control, only in supported games. Keep the deadzone as low as possible without causing drift, and change it in small increments.
Xbox
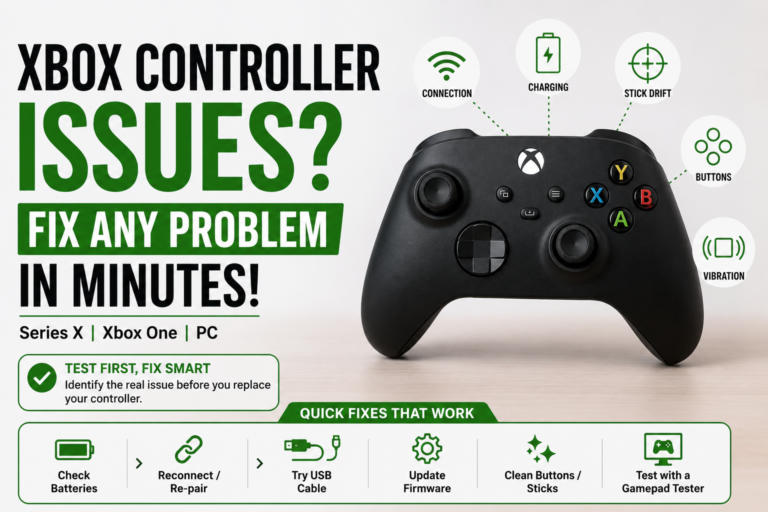
Many Xbox games include native deadzone controls, and Windows users can manage behavior through Microsoft’s controller software for supported devices. Start low, test, and only increase if unwanted movement appears.
PC (Steam)
Steam Input gives PC players the most flexibility:
- Open Steam → Settings → Controller.
- Select your connected controller.
- Open calibration/joystick configuration options.
- Adjust the deadzone slider in small increments.
- Launch your game and test.
Watch for a game and Steam Input both applying their own dead zones at once, this stacks and can make controls feel worse, not better.
Nintendo Switch
Switch offers recalibration and firmware updates but not deep deadzone customization at the system level. Most adjustment still happens per-game, or through a third-party controller’s own configuration software.
General Deadzone Guidelines
| Deadzone | Best For |
|---|---|
| 0 to 3% | Hall Effect controllers, near-zero drift |
| 3 to 5% | Competitive players wanting quick response |
| 5 to 8% | Most healthy controllers |
| 8 to 12% | Older controllers with slight drift |
| Above 12% | Temporary drift workaround, responsiveness drops noticeably |
If you need a large deadzone just to stop unwanted movement, the controller likely needs cleaning, recalibration, or repair rather than a bigger setting.
Best Deadzone Settings by Game
These are genre-informed starting points based on typical input demands per game type, not official developer specifications, so treat them as a baseline to test from, not a fixed rule.
| Game | Recommended Deadzone | Why |
|---|---|---|
| Call of Duty: Warzone | Low (3 to 5%) | Improves fine aiming and quick target tracking |
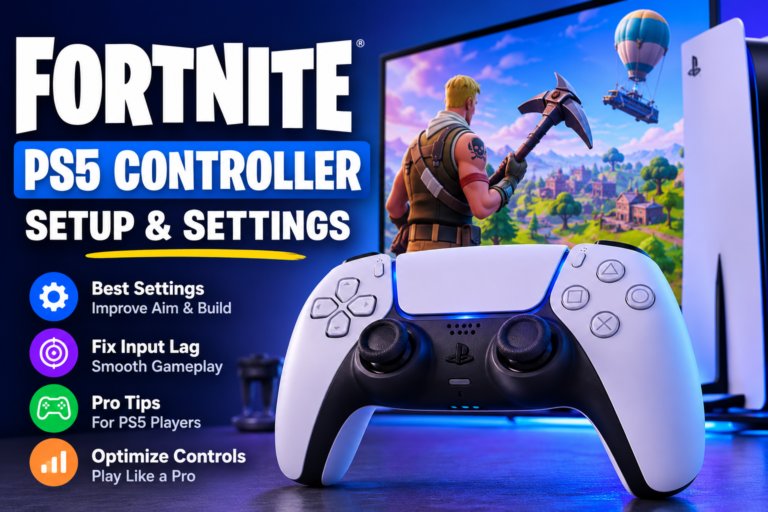
| Fortnite | Low to Medium (5 to 8%) | Balances building, editing, and aiming |
| Apex Legends | Low (3 to 5%) | Helps recoil control and precise tracking |
| Rocket League | Medium (5 to 10%) | Smoother, more predictable steering |
| EA Sports FC | Medium (6 to 10%) | Supports accurate passing and dribbling |
| Halo Infinite | Low (3 to 5%) | Improves aim responsiveness while staying stable |
| Destiny 2 | Low to Medium (4 to 6%) | Balance of precision and smooth camera movement |
| Forza Horizon | Medium (8 to 12%) | Reduces accidental steering at high speed |
| Gran Turismo | Medium (8 to 12%) | Maintains smooth steering through corners |
| Minecraft | Medium (5 to 8%) | Comfortable camera movement without sluggishness |
These values assume a healthy controller. If testing reveals drift, you may need a larger deadzone temporarily until the controller is repaired or replaced.
Competitive vs. Casual Deadzone
There’s no single “pro” setting that works for everyone; it depends on your controller’s condition and your priorities.
| Play Style | Typical Deadzone | Benefit | Trade-off |
|---|---|---|---|
| Competitive | 3 to 5% | Faster response, finer control | Can expose stick drift on worn controllers |
| Casual | 5 to 8% | More stable, forgiving | Slightly slower initial response |
| Older controller | 8 to 12% | Reduces unwanted movement | Small movements need more stick travel |
Should you copy a pro’s settings? Not directly, pros use different controllers, games, and (usually) freshly maintained hardware. Borrow their process instead: start low, test thoroughly, and increase only if needed.
Deadzone and Hall Effect Controllers
Hall Effect controllers measure stick position magnetically instead of through physical contact, which makes them far less prone to wear-related drift and lets many players run smaller dead zones comfortably.
Do Hall Effect controllers still need a deadzone? Yes. This is a common misconception. Hall Effect greatly reduces wear-related drift, but it doesn’t eliminate normal signal variation or accidental hand movement near the center. A small deadzone is still worth setting; think fine-tuning, not fixing a problem.
Common Deadzone Problems and How to Fix Them
| Symptom | Likely Cause | Fix |
|---|---|---|
| The character moves by itself | Stick drift, or deadzone too low | Test controller; increase deadzone slightly if movement is minor; inspect hardware if it persists |
| Aim feels slow | Deadzone too high | Reduce gradually until small movements register without unwanted drift |
| The controller feels too sensitive | Deadzone too low | Increase slightly and retest |
| Steering feels inconsistent | Wrong deadzone or calibration issue | Test, recalibrate if needed, then adjust deadzone |
| Small movements don’t register | Deadzone larger than necessary | Lower gradually until response feels natural |
Can a deadzone improve aim? Yes, but only when properly tuned. Too high delays your first movement; too low can introduce unwanted input on a controller with slight drift. The best aiming feel comes from the smallest stable dead zone your specific controller can handle.
Deadzone Won’t Fix This: When You Need a New Controller
Increasing the deadzone only hides symptoms of worn or damaged hardware; it doesn’t repair it. As wear progresses, unwanted movement usually gets stronger until even a large deadzone stops helping.
For diagnosis and repair steps, see our PS5 controller drift fix.
Signs the problem is hardware, not settings:
- The stick never returns close to center after release
- Drift appears in every game, even after changing settings
- One stick feels loose or uneven compared to the other
- Movement jumps or skips instead of changing smoothly
- Large deadzone values still don’t stop unwanted movement
Repair may be worth it if: the controller is relatively new, only one stick is affected, it has premium/sentimental value, and repair services or parts are available.
Replacement may be better if: multiple buttons or sticks are failing, the repair cost approaches the price of a new controller, there’s water damage or severe impact, or a repair has already been attempted without success.
How to Prevent Stick Drift and Deadzone Problems
- Keep it clean: dust and skin oils build up around the sticks over time.
- Avoid excessive force; pushing harder than necessary doesn’t improve control, only wear.
- Store it properly: on a flat, stable surface, nothing resting on the sticks, in a padded case for travel.
- Keep firmware updated: manufacturers periodically improve stability and compatibility.
- Recalibrate when needed, especially after updates or long-term use.
- Test regularly: a quick check every few weeks catches problems before they affect gameplay.
FAQS
What is a good controller deadzone?
The lowest value that keeps your controller stable without causing unwanted movement, typically 3 to 8% for a healthy controller. Older controllers with mild drift may need a slightly larger setting.
Does deadzone affect aim assist?
Yes. A smaller deadzone allows finer stick movement to register sooner; a larger one requires more physical movement first. The exact effect on aim assist varies by game.
Can I change the deadzone on the PS5 system-wide?
No. The standard PS5 system doesn’t include a universal deadzone control; it’s set within individual games or supported controller software.
Why does my controller still drift after increasing the deadzone?
That usually points to a hardware problem: worn analog stick components, dirt or debris, calibration issues, or physical damage. Testing the controller helps confirm the cause.
Is a 0% deadzone a good idea?
Not usually. Even healthy controllers produce tiny signal variations near the center, so a very small (but non-zero) deadzone typically gives a better balance of responsiveness and stability.
How do I know if my controller has stick drift?
Test it. If the stick reports movement while untouched, or doesn’t return close to center after release, it likely has drift.
Can software permanently fix stick drift?
It can reduce symptoms via deadzone adjustments or recalibration, but it can’t repair worn hardware. If internal components are damaged, repair or replacement is the long-term fix.
For diagnosis and repair steps, see our Joy-Con troubleshooting resource.
Do all games use the same deadzone?
No. Every game processes input differently; some expose granular deadzone sliders (like Call of Duty: Warzone), while others use a fixed, hard-coded value with no user control at all.
Final Thoughts
A controller deadzone isn’t just another setting buried in a menu; it’s core to how games interpret analog stick movement. Set correctly, your controller feels smoother and more predictable. Set poorly, even a perfectly good controller can feel inaccurate.
The key is to avoid guessing. Test your controller first, understand how it behaves, and adjust in small increments based on real data rather than copying someone else’s numbers. If testing shows a healthy controller, fine-tune with confidence. If it reveals drift, you’ll know it’s time to recalibrate, clean, repair, or replace, rather than compensating with an ever-larger deadzone.
Test Your Controller Before Changing Any Settings
The fastest way to choose the right deadzone is to see how your controller performs in real time. Use our Gamepad Tester to check analog stick movement, detect early signs of drift, verify center position, and test button and trigger input before adjusting any settings.
Once you’ve tested, explore related tools: Stick Drift Test, Polling Rate Test, Button Tester, and Trigger Test.
References
This guide is based on controller behavior documented by platform vendors, browser standards, and controller documentation, including the W3C Gamepad API specification, Steam Input documentation, official controller support resources from Sony, Microsoft, and Nintendo, and browser implementation guidance for modern gamepad support. Gameplay recommendations throughout are based on practical controller testing principles and common configuration practices rather than one universal setting for every controller or game.