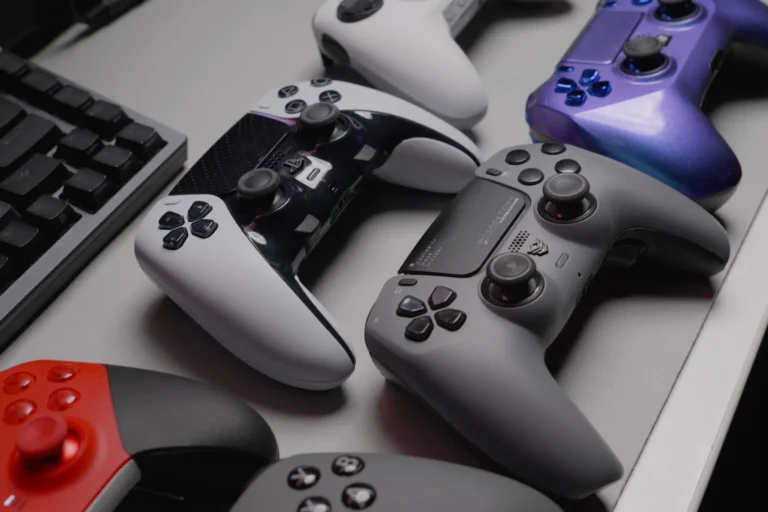
PS5 Controller Stick Drift
When your DualSense PS5 Controller Stick Drift starts exhibiting unwanted movement during those intense firefights, it’s not just frustrating it’s a phenomenon that can ruin your entire gaming session. This abnormal behavior occurs when analog sticks begin sending false input signals to your PS5 console, causing on-screen characters or cursors to move autonomously without any interaction from you. The issue manifests as subtle camera panning that creeps forward while you’re standing still, or your aim constantly pulling to one side when you need precise control most. What makes stick drift particularly difficult to control is how it develops joysticks that once returned to their neutral position now induce lateral movements and rotations that occur prior to any action on your part.

The symptoms become obvious when in-game elements start moving slowly across the screen despite your hands being completely off the sticks. This drift hinders your progress by preventing you from performing those crucial actions that require exact positioning whether you’re trying to stay on track in racing titles or making precise jumps in use Pro Gamepad Tester. Professional gamers often notice this lateral phenomenon creeps into their gameplay during competitive matches, where even slight movements can throw off critical aim sequences. The PS5 Controller Drift Fix becomes essential when these unpredictable joystick behaviors start affecting your performance, turning what should be responsive control into a battle against your own DualSense controller.
Understanding PS5 Controller Stick Drift / What are the symptoms of joystick drift on the DualSense?
Drift manifests when your character begins moving without any input from you, creating phantom movements that register on screen even when the analog sticks aren’t being touched. This phenomenon becomes particularly disturbing during precise gameplay moments – imagine booting up your favorite game only to notice your avatar walking in random directions while you’re simply holding the controller. The DualSense joystick will move your PlayStation character in unwanted directions, making gaming sessions feel like you’re fighting against the console itself rather than playing optimally. Many owners experience this as their on-screen presence seems to develop a mind of its own, suffering from drifting that transforms simple movements into frustrating battles for control. From my years working on PS5 Controller Repair, I’ve observed that stick drift initially appears subtle – perhaps a slight movement registers during menu navigation – but progressively worsens until performing basic gaming tasks becomes impossible. What makes this problem particularly challenging to understand is how it can affect different games in varied ways, turning once-enjoyable experiences into exercises in frustration.
How Stick Drift Happens
Dirt accumulation around the analog sticks represents the most common culprit behind drift phenomena, though many gamers overlook how compressed particles gradually interfere with internal mechanisms. The base components of your controller become susceptible when microscopic debris creates interference between moving parts, particularly after extended gaming sessions where hands transfer oils and residue. Sometimes the issue manifests due to manufacturing tolerances in the module itself, where components gradually lose their calibration over time through normal wear. Dust particles can build up inside the housing, creating obstruction that prevents proper movement and causes the system to register false inputs. Your PS5 Controller with Paddles might experience this phenomenon differently than standard models because of additional mechanical complexity. Regular exposure to environmental factors like humidity also contributes to buildup inside the mechanism, while pressing the sticks with excessive force during intense gameplay can accelerate internal wear patterns that eventually manifest as unwanted character movement on your screen.
Quick Fixes and Basic Solutions
Gpu Tester When drift starts causing your controller to behave erratically, the first approach involves pressure-based technique that many gamers overlook. Press the analog sticks down firmly for 10 seconds while simultaneously rotate them clockwise and counterclockwise – this helped resolve minor issues by realigning internal components. Check if dust and debris have accumulated around the stick housing by gently removing visible particles with compressed air. For software problems, head to your console settings and install any pending updates, as firmware bugs can cause phantom inputs. Test the controller in a game that previously showed symptoms to ensure the drift has been resolved. If issues persist after these basic fixes, consider increasing the dead zone threshold in games that allow such adjustments – though this serves as a temporary workaround rather than addressing the root cause. Handle your device with care to avoid physical damage from drops that can knock internal mechanisms out of alignment.
Advanced Troubleshooting Methods / Press the analog sticks
When manual reset attempts fail and basic cleaning doesn’t resolve the drift, pressing the analog sticks with controlled force can address internal misalignment issues. This advanced method involves applying gentle pressure in specific directions to recalibrate the internal potentiometers that measure stick position. Hold each stick firmly and press down while rotating slowly through complete circles – this technique helps dislodge particles that may have settled around the sensors and can reconnect loose contacts within the mechanism. The process requires patience, as forcing the sticks incorrectly can damage delicate components. Many users find success by performing this maintenance procedure before symptoms become severe, particularly when drift appears intermittent rather than constant. Professional repair technicians often recommend this approach as a last resort before replacement becomes necessary.
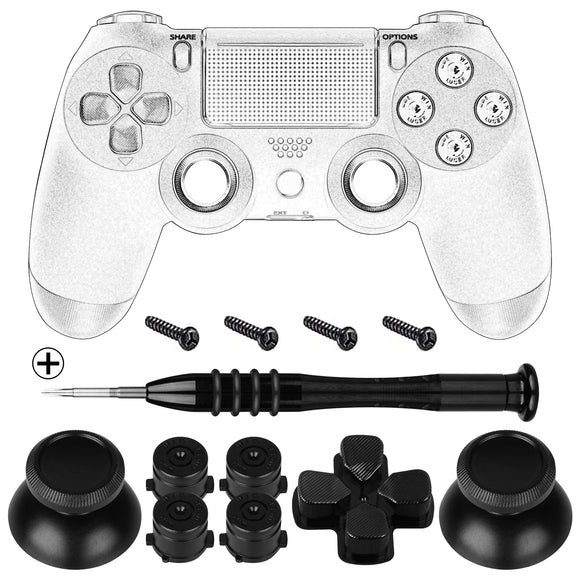
Replace Joystick / Replace the analog sticks
When poor manufacturing quality leads to drift issues that resist all software remedies, replacing the analog sticks becomes the definitive solution for restoring optimal controller performance. The replacement process demands careful disassembly of your DualSense, where proper technique prevents damage to delicate electronic components during the repair. Professional repair services typically charge between $30-50 for stick replacement, though DIY enthusiasts can source replacement parts for under $15 and complete the procedure themselves. Sony’s official warranty coverage becomes void once you open the controller, so weigh this cost against potential claim benefits before proceeding. The procedure requires specialized tools including precision screwdrivers and anti-static equipment to safely access the internal circuit board where joystick modules attach via delicate connections. Unauthorized repairs risk voiding remaining warranty protection, yet many experienced users find the investment worthwhile given the immediate restoration of precise control and extended controller lifespan that quality replacement components provide.
Impact on Different Games Effects
The impact of stick drift varies dramatically across different game genres, creating unique challenges that many players overlook. In competitive shooters, even minor drift can compromise your aim precision during crucial moments, while racing games become nearly unplayable when your vehicle constantly veers without input. RPG titles suffer differently – menu navigation becomes frustrating as selections jump unexpectedly, and camera control issues can hinder exploration and progress. Fighting games present their own set of problems where accidental inputs from drift can trigger unwanted moves, disrupting combo timing and defensive strategies. The symptom manifests most severely in platformers, where precise jumping becomes impossible as characters move in unintended directions, making challenging sections nearly insurmountable. Strategy games face different complications – unit selection becomes erratic, and map scrolling occurs without player intention, breaking concentration during critical decision-making phases. Sports games experience unique issues where player positioning shifts unexpectedly, affecting passes and shots in ways that can determine match outcomes. The manifestation of these problems often depends on how sensitive each game’s control scheme is to small analog stick variations, with some titles offering better deadzone settings to mask the issue than others.
Software Solutions
Software approaches offer surprisingly effective solutions for addressing PS5 controller drift issues before resorting to hardware interventions. The DualSense controller’s internal firmware can be reset through specific methods that realign sensor calibration – I’ve personally witnessed this resolve persistent drift problems that seemed hardware-related. PlayStation’s system software includes diagnostic tools accessible through the settings menu, where users can perform comprehensive controller testing and calibration procedures. These digital solutions work by resetting the analog stick position mappings within the controller’s memory, effectively creating new baseline readings for center positioning. Advanced troubleshooting involves accessing developer mode settings through specific button combinations, allowing deep calibration adjustments that restore proper functionality. PlayStation support recommends performing software resets as the first step before considering hardware replacement, since many drift symptoms stem from corrupted calibration data rather than physical component failure. The process requires connecting the controller via USB cable and following step-by-step instructions through the console’s maintenance menu – a procedure that takes approximately 5 minutes but can save users from unnecessary hardware replacements.
Prevention Tips
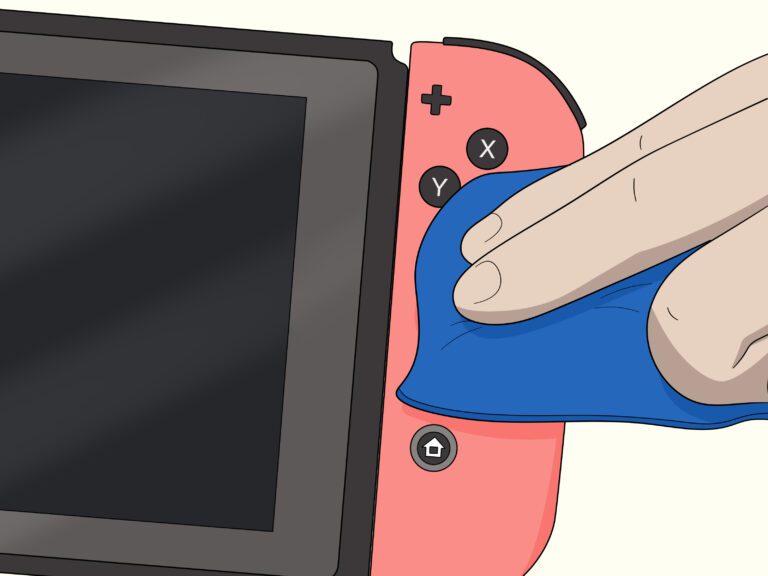
Daily maintenance becomes your strongest ally against drift – I’ve learned through countless gaming sessions that regular cleaning with cotton swabs dipped in isopropyl alcohol prevents accumulation of fine skin cells and food particles that get under the component. Never spray liquids directly onto your controller; instead, slightly dampen the swab and gently clean around the analog sticks on a daily basis as a habit. After years of testing different approaches, I’ve found that ensuring your controller is completely dry before use and avoiding excessive force when gaming significantly extends the life of your analog sticks – remember, dropped controllers often develop misaligned metal structures inside that create ghost inputs. Most importantly, keep your gaming surface clean and store your controller properly when not in use, as dust and debris are the primary culprits behind deterioration of sensitive parts that record user input.
FAQS
What triggers stick drift and how does it develop over time?
Stick drift develops through three main sources that create dead zones where your controller lies unresponsive. Frequent use leads to wear over miles of thumb movement, while dust and gunk collect in spaces around the analog mechanism, causing interfere with normal function. The board connections can become damaged from bad handling, and even an outdated version of system software creates incorrect resulting impacts that fall into areas where the structure gradually creates zones of malfunction. What’s particularly frustrating is how bend issues develop when the stick becomes incorrectly centered, leading to visible external reasons that varied users experience differently based on their gaming habits.
How can I perform a quick reset without opening my controller?
Start with the simplest fix by resetting your controller completely – turn off your console and locate the small hole near the PlayStation logo on the back. Use a sharp object like a paperclip or pin to press inside for about 10 seconds, then connect via USB cable and let it completely sync after powering on. If this doesn’t work, might try blowing compressed air into the affected analog stick area at 70% pressure to clean any debris. This useful guide helps improve responsiveness without spending money on repairs, and you can walk through these steps carefully in plain English to solve basic drift issues from your home.
Which games suffer most from analog stick problems?
Effects vary depending on what type of game you’re playing, with first-person shooters being particularly annoying when drift occurs. FPS games like Call of Duty and Fortnite can even throw off your aim or make you step out of cover at the worst possible moment. Racing games become nearly impossible when your car constantly pulls to one side, making driving a challenge where you’re fighting against yourself. Platform games and platformers can send your character toward edges or cause you to miss critical jumps, while precision need games become much harder when you can’t trust your controller’s accuracy.
What’s the most effective long-term prevention strategy?
The best defense against drift is to make a habit of monthly maintenance using a cotton swab dipped in isopropyl alcohol to keep your controller dust-free. Stop gaming right away when you notice any sticky residue or feeling of the stick being loose – don’t wait until it gets worse and stop working entirely. Try to avoid eating while gaming, as this creates the residue we discussed, and spot clean immediately when not in use. Prevention Tips that are most effective include creating a clean gaming environment covered from dust, and from my experience over a year of testing, these several methods prevent problems before they occur – though if your controller has had issues, consider getting a new one rather than fighting recurring problems.
Should I attempt analog stick replacement myself?
All other methods aside, replacing the analog sticks yourself may require technical skills compared to buying a replacement. You’ll need to gather specific tools including compatible Phillips screwdriver, plastic pry tool, and soldering equipment to open the screws and disconnect the battery. After you locate the faulty component, you must desolder the old stick and carefully solder the new one before you reassemble everything. Important to note this will void your warranty and requires precision – consider using a professional service if you’re uncomfortable with this level of work. The above methods should be attempted first, and if you do decide to tackle this yourself, be careful during the operation and sure you’re wise enough for the task. Otherwise, consult Sony’s customer support or buy a replacement kit with detailed instructions, always operate with caution to avoid damaging other components while remove and disconnecting connectors.